Thursday, December 25, 2025
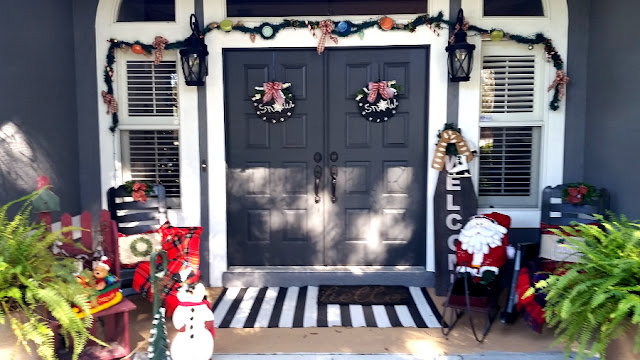
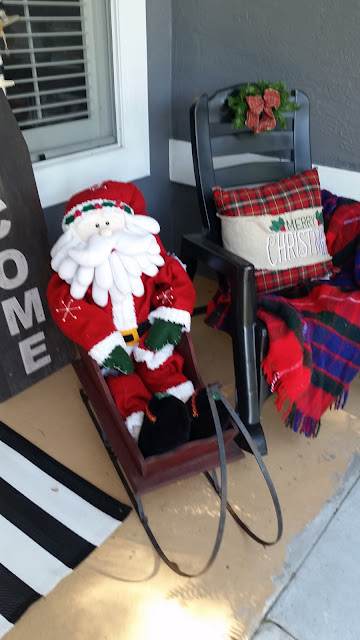
Merry Christmas
Merry Christmas
Tuesday, December 23, 2025
Christmas Time on WWBH
Christmas Time on WWBH
Saturday, December 20, 2025
Christmas Festive Season on HIH
Welcome to our Happiness is Homemade # 616: Christmas Edition Linkup Party! 🎄✨
We will not be here without our incredible members. Thank you for being here week after week, linking your posts, visiting each other, and spreading so much creativity, kindness, and cheer throughout the HIH community.
During this Christmas/Holiday season, may your home be filled with love, laughter, and all the little joys that make life extra special. Wishing you an awesome, fantastic, wonderful, and truly Blessed Christmas and festive season!

Thursday, December 4, 2025
Creating Christmas Decor on TFT
Creating Christmas Decor on TFT
Tuesday, December 2, 2025
Christmas Crafts on WWBH
Christmas Crafts on WWBH
Wednesday, December 25, 2024
Merry Christmas 2024
Merry Christmas 2024
Tuesday, December 17, 2024
Yummy Food and Christmas Decor on WWBH
Yummy Food and Christmas Decor on WWBH
Thursday, December 12, 2024
Yummy Christmas Goodies on TFT
Yummy Christmas Goodies on TFT
Tuesday, December 3, 2024
Christmas Ideas on WWBH
Christmas Ideas on WWBH
Saturday, December 16, 2023
Happiness is Homemade Party White Christmas
Happiness is Homemade Party White Christmas
Welcome to the party! Well, Christmas is approaching quickly. I am ready but we just added another dinner party 2 days before Christmas. I spent the day thinking about what to make; making grocery lists and shopping for some of the items. I am doing mainly appetizers and some cold cuts for this one. 14 people on Sat and sit down dinner for 12 on Christmas. I am going to be busy, but it is fun and I enjoy having people over.
Now it is on to Christmas. Have you already started decorating for Christmas? I have chosen some Christmas decor ideas to get you in the mood.
Missed the party last week? Check it out here!

Saturday, December 9, 2023
Picket Fence and A Christmas Centerpiece
Picket Fence and A Christmas Centerpiece
Wednesday, November 30, 2022
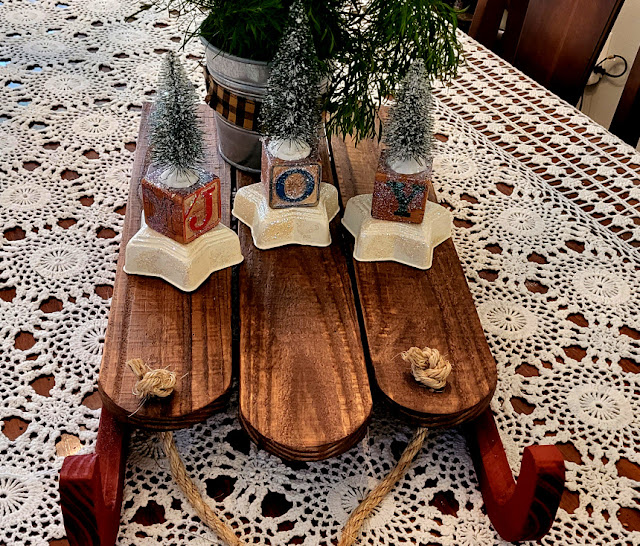
DIY Winter Wonderland On a Sled Tray
DIY Winter Wonderland On a Sled Tray
I am so happy to be joining Katherine, from Katherine’s Corner for a delightful event, a, “Winter Wonderland On a tray tour”.
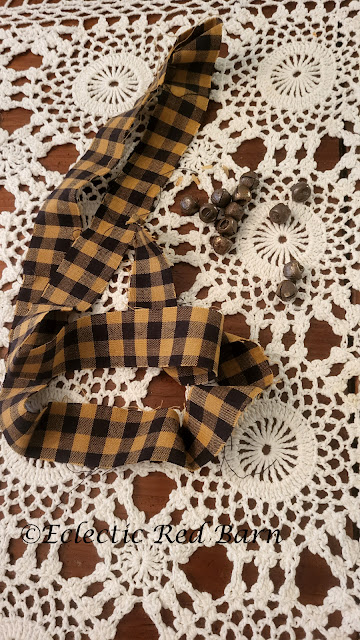
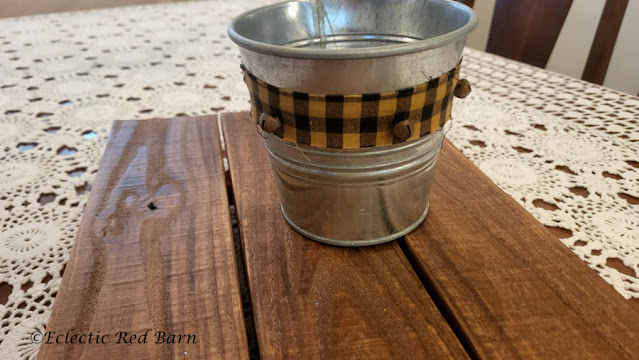
I thought of different fabric to put around the bucket and then decided to make something different than a Christmas fabric. I gathered some black/tan checked fabric and some rusted bells. I stitched the bells onto the fabric strip.
You are invited to the Inlinkz link party!
Click here to enterSunday, December 5, 2021
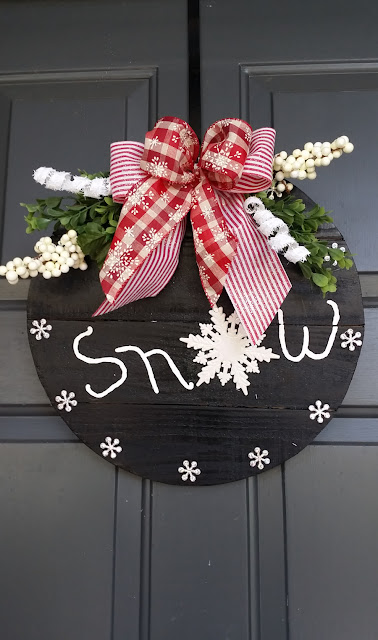
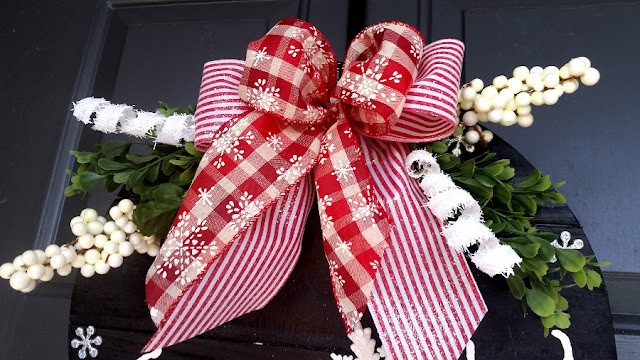
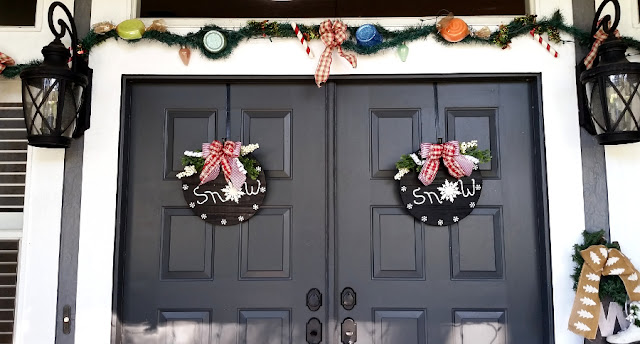
Pallet Snowflake Wreath
Pallet Snowflake Wreath
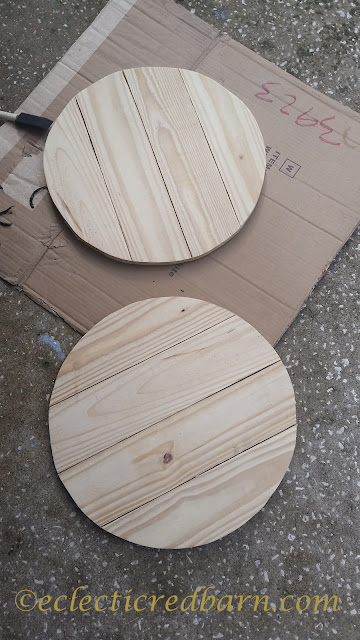
- Hubby cut the pallet boards out with out having to remove any nails.
If you cut down the middle of the pallet board, you will get boards and you don't have to remove any nails. - Hubby nailed the four boards together
It was easier to nail four boards together and then cut out the circle, since some of the boards are different heights, hubby made sure they would not come apart. Hubby does get carried away with nails. - I used a large bucket for the circle.
- Hubby then cut out the circle
- Paint them black
I painted them black. I had some high gloss black paint and gave it two coats. (Sorry no pic) - Add decor
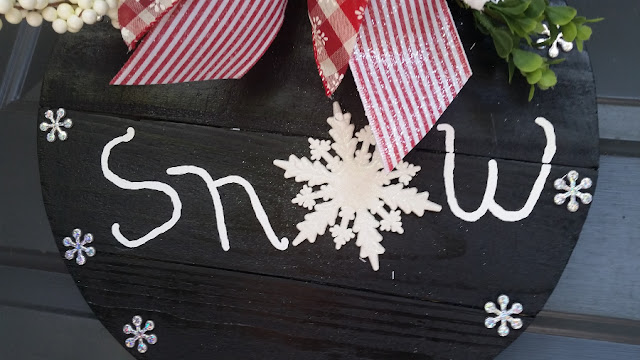
I hand did the letters with some white paint. For the "O" I used a plastic snowflake that I got at the Dollar Tree, it was a two pack. I glued it in with superglue and then put a tack at the top where the hole was. Now I know it won't come off.
For around the outside, I had some snowflakes that I got at Hobby Lobby on sale. Even though they were stick-ons, I still added some superglue. I used the smaller ones.
Tuesday, December 25, 2018
Merry Christmas
Wishing You a Very Merry Christmas
Wishing you a very Merry Christmas. I hope your day is blessed with family, friends and the gift of the season.Sunday, December 2, 2018
Quick and Easy Christmas Centerpiece
Quick and Easy Christmas Centerpiece
Need something on your side table, coffee table, or anywhere, why not create a cranberry candle centerpiece. I needed three for the round tables that we set up on our deck for our annual Christmas party. I knew I wanted candles, but didn't want to spend a lot and I didn't want them to take up too much room.
I looked in my stash and the fridge to see what might work. This is what I came up with.
Sunday, December 25, 2016
Merry Christmas to All!
Wednesday, December 24, 2014
Merry Christmas to All!
I am taking time off to spend with family and friends so I wanted to take a moment to wish everyone a Merry Christmas.
Wednesday, December 17, 2014
Cheering up the light
This was very easy and rather cheap. I saw this light decorated on Pinterest for Christmas and for some reason it stayed with me. So when I had finished my banners, the light looked so plain. I still had some berries left and the light called to me.
Monday, December 23, 2013
Merry Christmas To All!
I am taking the holiday off. Spending time with children and grand children. I want to wish everyone a very Merry Christmas and a Happy New Year. I will see you in January!


