Showing posts with label Christmas decorations. Show all posts
Showing posts with label Christmas decorations. Show all posts
Saturday, December 9, 2023
Picket Fence and A Christmas Centerpiece
Picket Fence and A Christmas Centerpiece
As I was thinking of what to use for my dining room Christmas centerpiece, I wondered around the house. I bought this picket fence in PA a few months ago. I wondered how could I use it. I should have taken a picture of just the picket fence, but didn't.
It was so sunny today as I tried to get pictures. (I am not complaining about the sun - love it)
It's not everyday you attempt to put a picket fence on your dining room table. I have been known to use some strange pieces for trays. Last year I made a sled (You can see that here) For my autumn tray I used a pelt stretcher, so a picket fence should not be a surprise.
There are three pieces to the fence, each one is about 16 inches wide and each picket is 20 inches long. So I laid one section down and the others became the back. I folded the other two pieces to make an upside down "v" so it would stand up.
Here is the back panel. I love all of the colors and the "chippiness" (is that a word) of the pickets.
I placed a tree on the front panel and then found a large piece of white felt to use as the shirt around it.
On the one side, I added a rustic bell, a snowman and some trees.
On the other side, I added two glass tree ornaments. I didn't want to use them as ornaments, but they look cute as trees here.
I added fairy lights to the tree. Although with the sun shining in that window, it makes them blurry.
I love how it turned out, however, there is not much room on my table when we have Christmas dinner. I will have to move it to the kitchen table and put one of my other pieces on that table so we can place the food on it.
I hope you enjoyed my picket fence centerpiece.
Tuesday, December 14, 2021
Christmas Wooden Tree
Christmas Wooden Tree
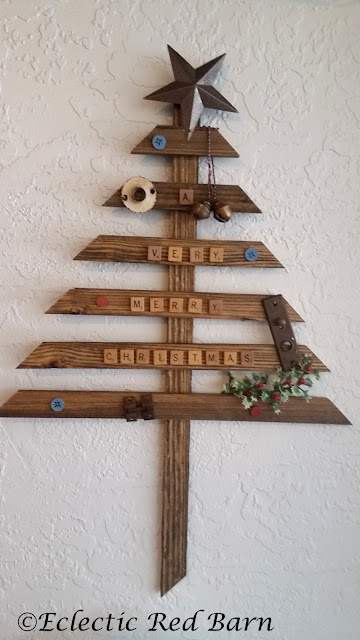
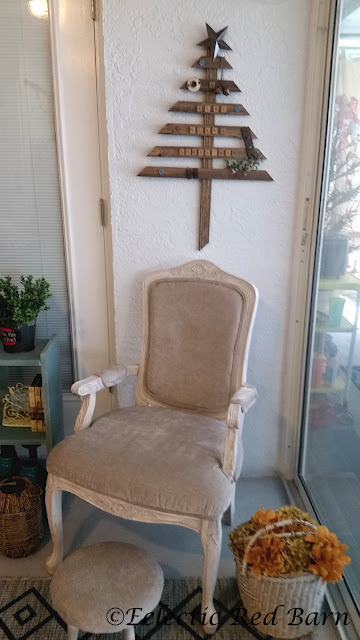
When I was in Pittsburgh in November, my friend that has a store gave me a wooden tree. I didn't do anything with it until last week. I went to my stash of rusty metal things and pulled my bag of Scrabble letters out and the wooden tree became this.
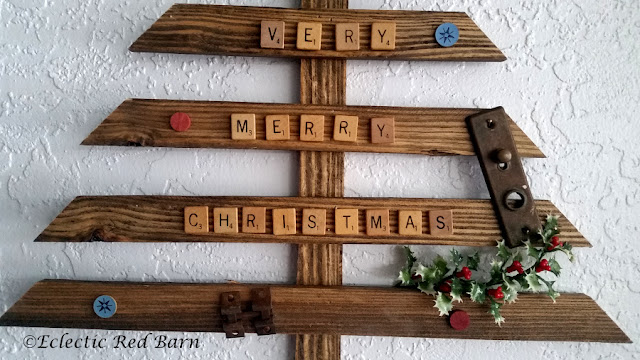
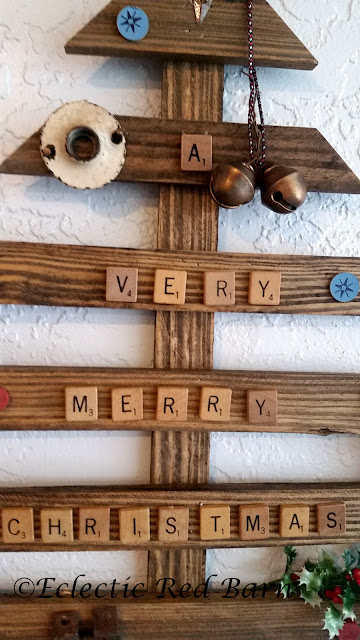
I started off with the scrabble letters. I didn't want to glue them on so I used glue dots. They will keep them on but I can take them off if I want to. The blue chips are from bingo numbers, they are for the free spots.
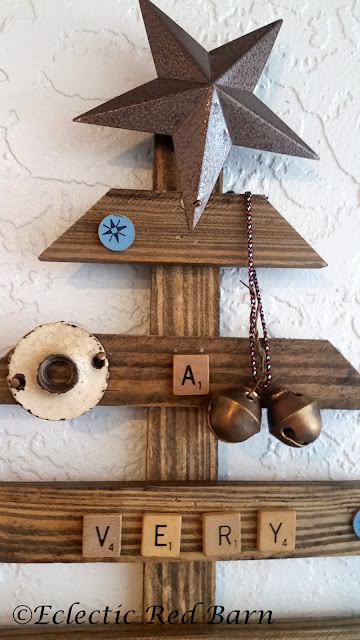
I added an old rusty hinge and a door knob plate.
For the star, I had a 4th of July one and just sprayed painted it. I used a hammered brown paint.
It is a great addition on my lanai.
The post Christmas Wooden Tree first appeared on Eclectic Red Barn.
Labels:
Bev@Eclecticredbarn
,
Christmas decor
,
Christmas decorations
,
wooden tree
Sunday, December 5, 2021
Pallet Snowflake Wreath
Pallet Snowflake Wreath
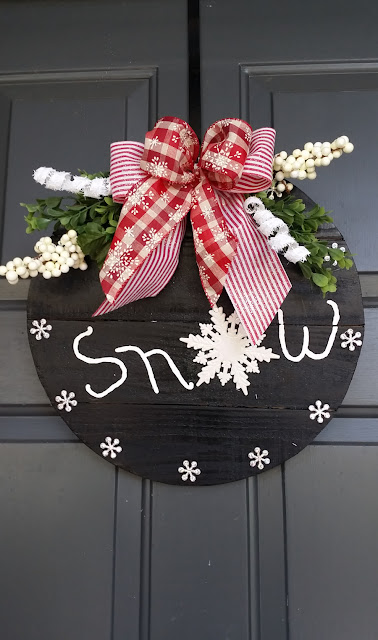
I needed new wreaths for my front door and wanted to do something different that green type wreaths. Hubby had a pallet in his truck from his brother and I said, could you cut out the boards. I need them.
We cut, nailed and painted and then that pallet became this.
I had seen something similar on Pinterest and made it my way. I used things from the Dollar Tree and some ribbon from last year.
Here's how I made them:
- Hubby cut the pallet boards out with out having to remove any nails.
If you cut down the middle of the pallet board, you will get boards and you don't have to remove any nails. - Hubby nailed the four boards together
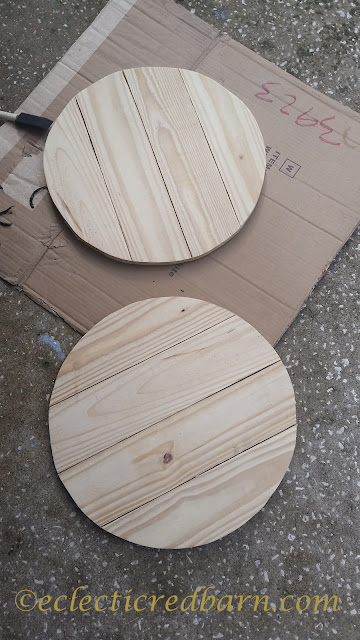
It was easier to nail four boards together and then cut out the circle, since some of the boards are different heights, hubby made sure they would not come apart. Hubby does get carried away with nails. - I used a large bucket for the circle.
- Hubby then cut out the circle
He wanted to make sure it didn't come undone. I don't think there is a chance.
- Paint them black
I painted them black. I had some high gloss black paint and gave it two coats. (Sorry no pic) - Add decor
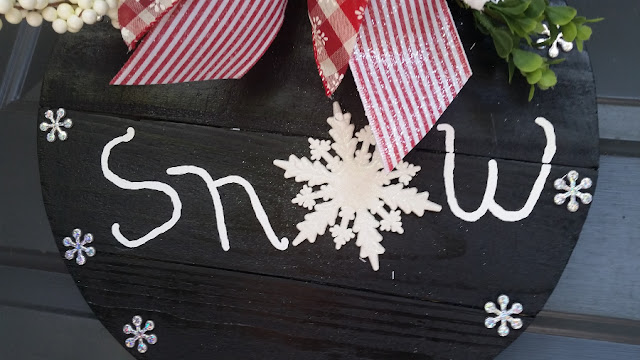
I hand did the letters with some white paint. For the "O" I used a plastic snowflake that I got at the Dollar Tree, it was a two pack. I glued it in with superglue and then put a tack at the top where the hole was. Now I know it won't come off.
For around the outside, I had some snowflakes that I got at Hobby Lobby on sale. Even though they were stick-ons, I still added some superglue. I used the smaller ones.
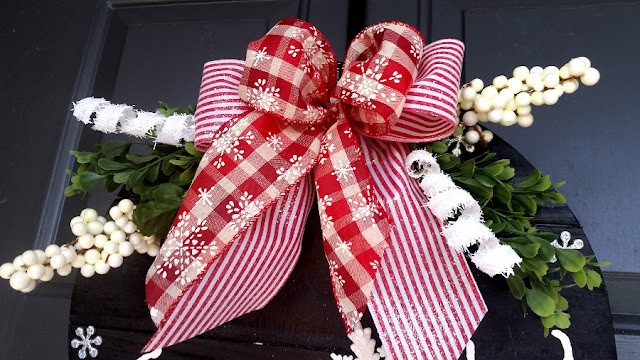
I made a bow from ribbon left over from last year. The greenery was free and the white items came from the Dollar Tree.
All in, it cost about $5 for both wreaths.
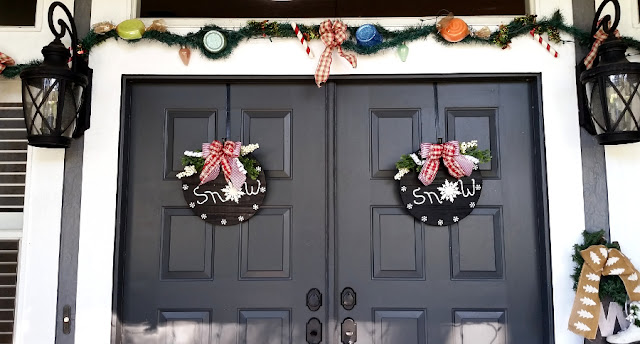
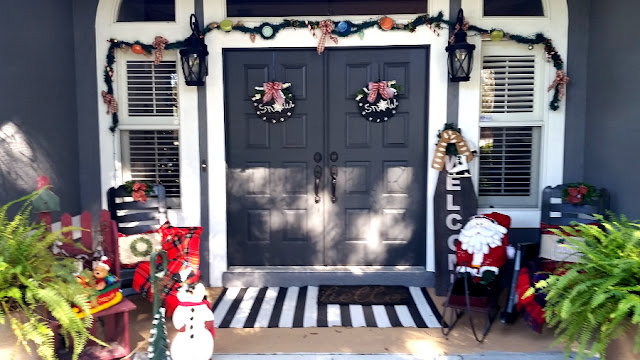
Here they are on my front door.
Sunday, December 8, 2019
Fabric Decorated Candy Canes
Fabric Decorated Candy Canes
Do you ever find yourself wanting to make a simple but lovely Christmas decor but don't have much time? Who has time this time of year, right?Well, that was me yesterday. I wanted something, but had no time. I was cleaning my pantry (hoping to find room for baking supplies) when I found some candy canes. They might have been from last year. Yikes! They were still wrapped.
What could I do with them to make them better and a pretty display as well.
Thursday, December 7, 2017
Candy Cane Decor in Minutes
Well, that was me yesterday. I wanted something, but had no time. I was cleaning my pantry (hoping to find room for baking supplies) when I found some candy canes. They might have been from last year. Yikes! They were still wrapped.
What could I do with them to make them better and a pretty display as well.
Monday, December 7, 2015
Decorating Cloudy Old Bottles
Decorating Cloudy Old Bottles
When you are done, yours could like this these.
These bottles were easy to update using four materials, not counting the bottles.
Saturday, December 20, 2014
Dressed Up Dollar Tree Bells
Labels:
bells
,
Christmas decorations
,
Dollar Tree
,
Mod Podge ideas
Tuesday, December 3, 2013
Knotted Burlap Christmas Wreath
Friday, December 21, 2012
Merry Christmas Everyone !
I would like to wish everyone a Merry Christmas and a Happy New Year. I hope that your time with family and friends is enjoyable. Make sure to give extra hugs. I am sure I will be enjoying my family gatherings.
 |
I have enjoyed "visiting" with all of you and thank you for visiting with me. See you in the new year.
Labels:
Christmas bulbs
,
Christmas decorations
,
Christmas tree
,
traditions
Subscribe to:
Comments
(
Atom
)


