Friday, September 30, 2016
Fall Wreath from Natural Coffee Filters
I have seen wreaths made from coffee filters and I wanted to make one myself for fall/Halloween.
I didn't want to dye the coffee filters as I have seen some done, so I bought these natural coffee filters. Tan would work perfectly.
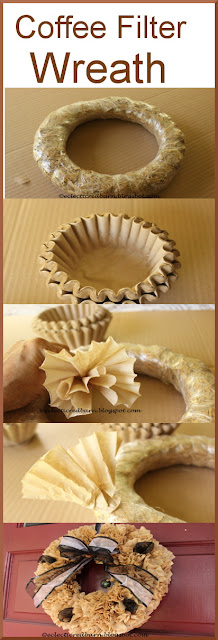
Here's my tutorial on making the coffee filter wreath above.
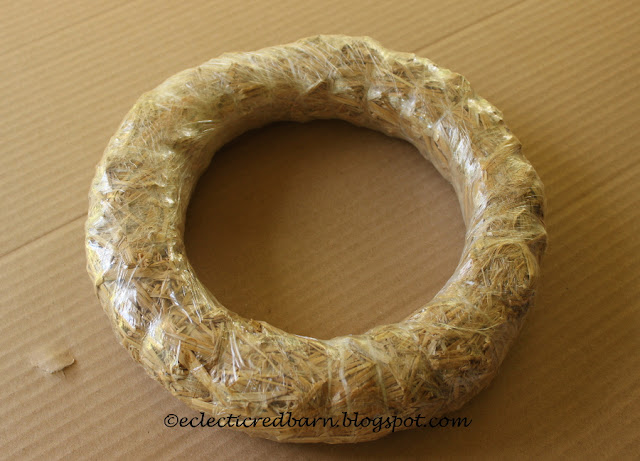
1. Start with a base. I had this straw wreath that I bought at a garage sale for 25 cents.
This particular one had a plastic wrap on it. The coffee filter didn't want to stick to it, so I removed the plastic.
2. I bought this package of natural filters. There was 200 in the package. I think it was around $2. I used 2 sections of the filters - so about 60 - 70 filters. This may vary depending on how tight you make the filters and the size of your wreath base.
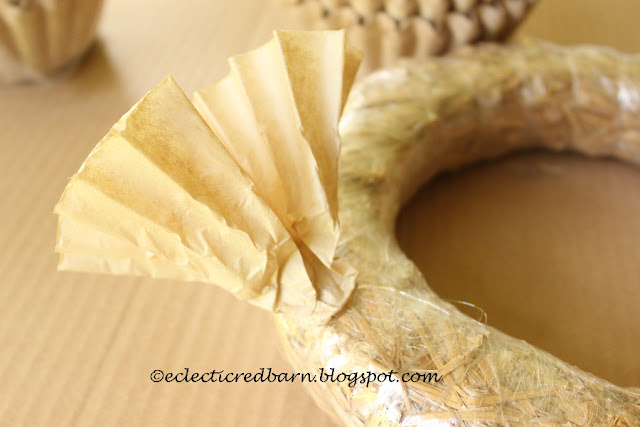
3. I started by taking one filter and gathering it at the bottom.
4. I attached the filter to the wreath by adding some hot glue to it and then placing it on the base. You could also place glue on the base and add the filter.
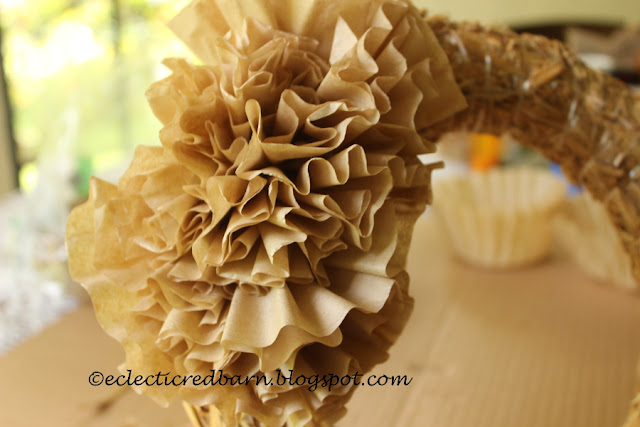
5. I did this for a couple filters and then tried a different technique. I pushed the bottom of the filter up and gathered it. This made the filter shorter. The bottom becomes like a center for the flower.
When I placed it on the wreath, I now have different heights. I liked that effect. Some are higher and some are lower.
I have seen other techniques for placing the filters on the base. Someone folded them and kept layering them on until all were on and then "fluffed" them up. I might try that next time.
6. I kept folding and gluing my filters onto the base. You need to add a ribbon before you completely finish adding all the filters. I just wrapped it around and made a loose tie.
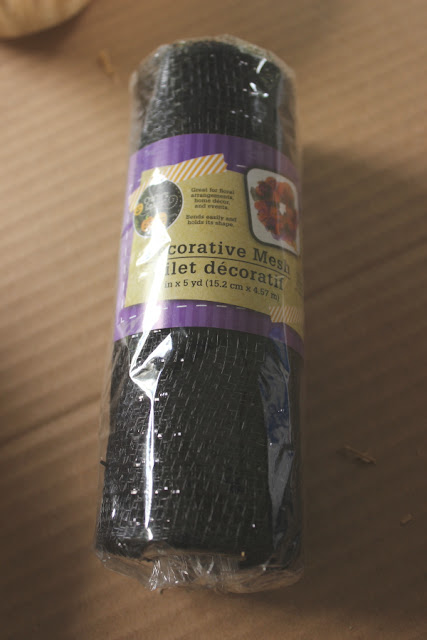
7. Now that the base was completely covered, I wanted to add some black mesh flowers to the wreath. I purchased this at the Dollar Tree.
8. I cut off a piece and then cut that in half.
I "scrunched" up the piece and using a little hot glue tucked it between the filters.
9. I made a bow and tied it to the ribbon that I had placed on the wreath. I cut some of the remaining ribbon to make a hanger for it.
There you have it - my tan coffee filter wreath.
Coffee filters can be used for so many projects and I am glad that I used them for my wreath.
This wreath cost around $4. That included: the base, the coffee filters, the black wire mesh and some ribbon.
The post Fall Wreath from Natural Coffee Filters first appeared on Eclectic Red Barn.
Linking to these parties:


Labels:
decor
,
fall wreath
,
wreaths
Subscribe to:
Post Comments
(
Atom
)








Wow, amazing blog layout! How lengthy have you ever been running a blog for?
ReplyDeleteyou make running a blog look easy. The entire look of
your site is fantastic, let alone the content material!