Thursday, March 16, 2017
Wooden Easter Letters
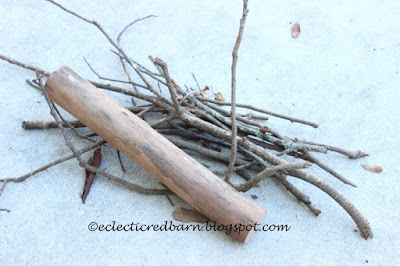
My husband was cutting up this huge branch to put in the garbage can and I said, save me a piece of that. I had an idea for that branch and some of the twigs - Easter Wooden Letters.
Let me show you how I created these Easter Wooden Letters.
Here's the tutorial:
Step 1: I gathered up my supplies. A large branch and some twigs.
If you don't have any dead branches or wood to use, I think they have various disks at the craft store you can use.
Step 2: I cut the large branch into disks that are about 3/4 inch in thickness using a chop saw. I didn't measure them just cut one after the other.
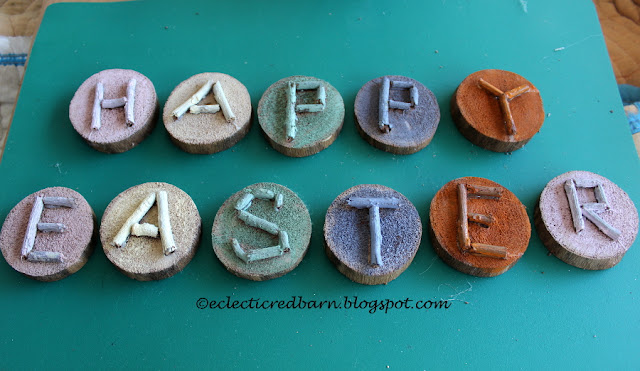
Step 3: Next I cut up the twigs to form my letters. I wanted it to spell out HAPPY EASTER. I used a miter saw to cut most of the twigs, but the twigs broke easily by themselves.
I laid out each set of letters.
Step 4: I hot glued the twig pieces to each wooden disk. They did get rather messed up in transit from outside to inside.
Step 5: I love these rustic letters, but thought I might give them some additional flair.
I decided to paint them some pastel colors. I used pink, blue, purple, yellow and orange.
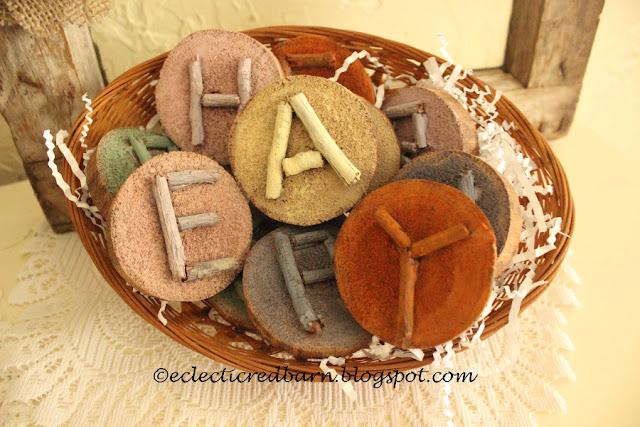
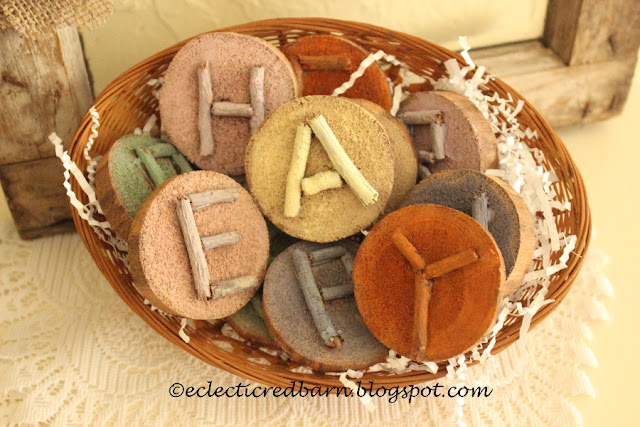
Step 6: I let the letters dry and then put them in a basket.
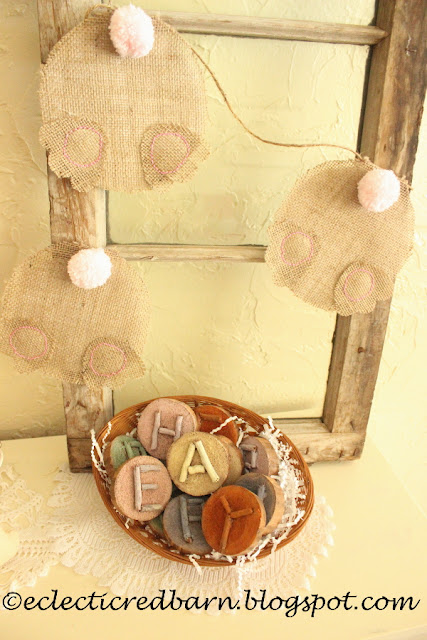
Now, I could make a garland out of them, but I had just made my bunny garland ( you can check that one out here and see it in the picture below) and decided that putting them in a basket was great for this year.
I added the basket of wooden letters to my Easter display with my bunny garland.
I am so thrilled how cute these letters turned out and that I could use materials that the wind blew down.
The post Wooden Easter Letters first appeared on Eclectic Red Barn.
Linking to these parties:
Labels:
Easter decor
,
wooden letters
,
wooden projects
Subscribe to:
Post Comments
(
Atom
)









No comments :
Post a Comment
I would love to hear from you. Your comments are special to me.