Thursday, December 15, 2016
Tutorial for making Christmas Lollipops and Christmas Pole
These lollipops are adorable and so easy to make and you might already have all most of the materials.
You will be surprised that I made the lollipops with pool noodles and PVC pipe.
Here is the tutorial on making the lollipops and Christmas pole:
Materials needed: PVC pipe, pool noodles, ribbon, basket bag, glue gun, white tape.
We will start with the pool noodle and PVC pipe.
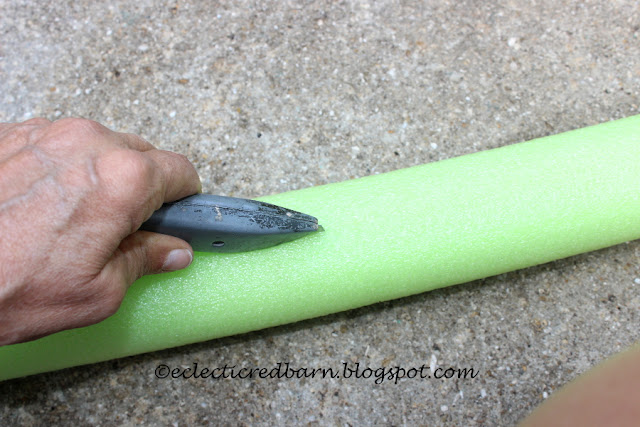
Starting with the pool noodle, cut it in half. (I used the small size pool noodles for this - $1 at the Dollar store or Walmart.) You can do this by using a utility knife.
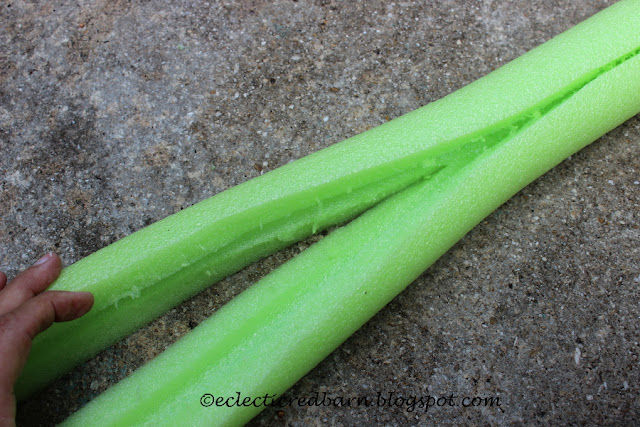
Slice down the middle. Depending on your utility knife, it may not go all the way through. That's OK, it will still break in half. You may have to cut it in places.
I had orange and green ones from summer.
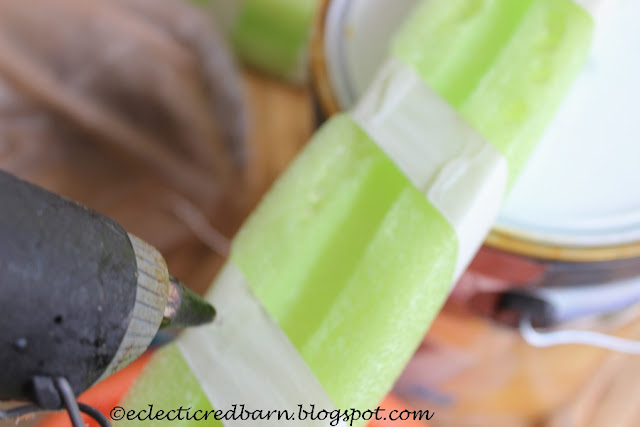
For the orange one, I left it plain. For the green one, I wrapped it in white tape. We will be hot gluing the cut pool noodle onto itself. Before we do that, however, get some material to hold the wound lollipop. I used large twisties that came from some package.
Now back to the noodle. Add hot glue to each side of the cut part of the noodle. Be careful not to get too close to the noodle with the tip of the glue gun because it will melt it. It will melt it some anyway.
Start at one end and roll it up. Keep rolling and adding hot glue until you reached the other end. Wrap the coil with the twistie and let it dry.
Meanwhile, get the PVC pipe ready. My PVC pipe was 3/4 inch OD (outer diameter). You don't want too large or it will not fit into the noodle.
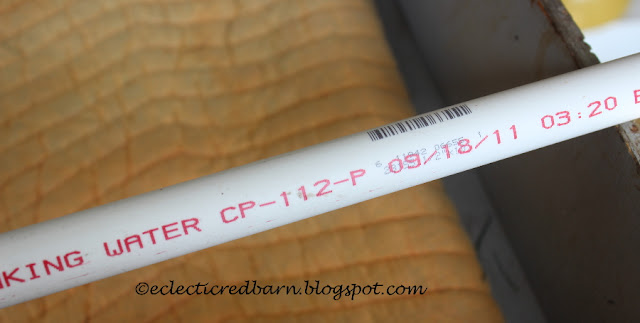
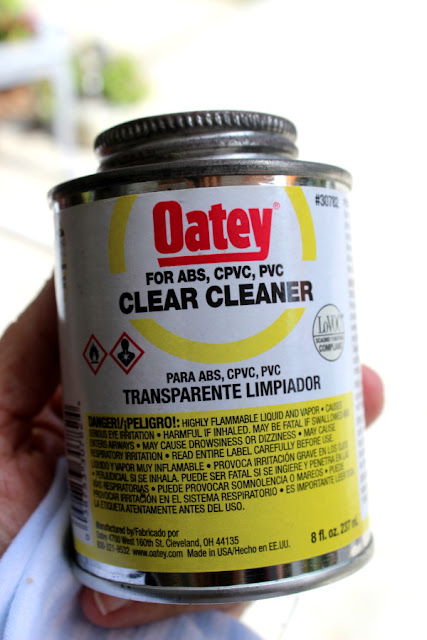
I like to clean my PVC pipe first. I hate all the lettering they put on it.
I have tried everything and the only thing that works, is pipe cleaner. Make sure you get the clear one and NOT the purple one.
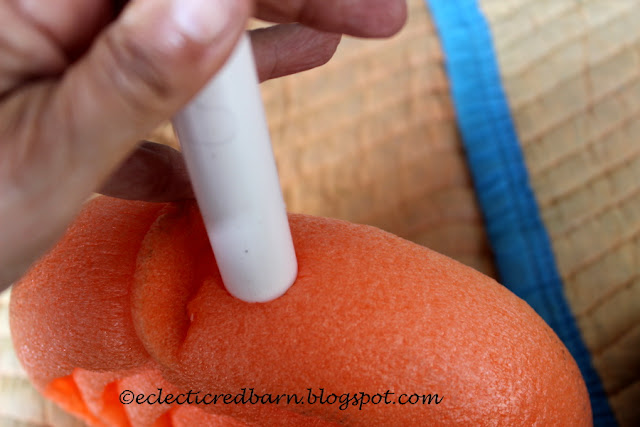
Back to the spiraled noodle. It should be secured by now, if not add more glue and let it dry. Take the PVC pipe and twist it into the noodle. (Not too hard) This will make an "impression" on the noodle.
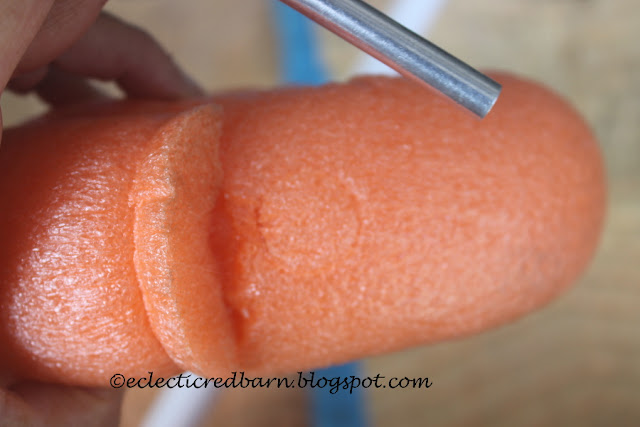
Use this impression to cut out that area. I use a utility knife for this.
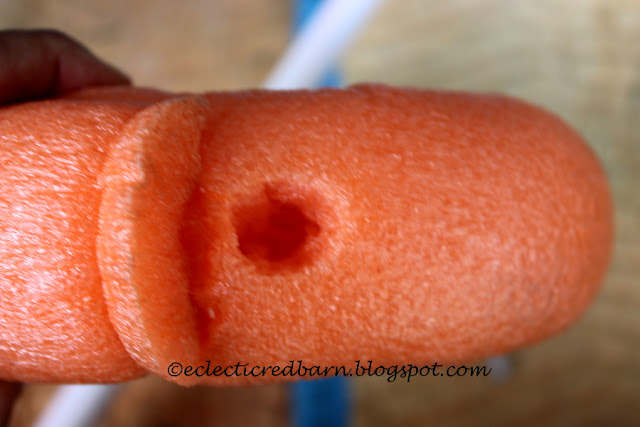
Remove the chunk of noodle, leaving a whole where you will insert the PVC pipe.
Now, add some hot glue to the end of the PVC pipe. Add enough to secure it to the spiraled noodle.
Insert the pvc pipe into the hole you just made.
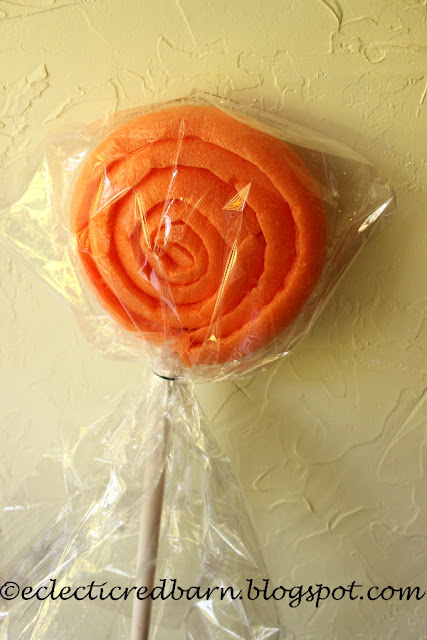
Now to finish the lollipop. I purchased two shrink basket covers at the Dollar Tree. They are the ones where you put your basket in and use a hair dry to shrink it around the basket.
I placed the lollipop in the cover and tied it around the PVC.
Then I used my hair dryer to shrink the cover around the lollipop. It worked great and I was so excited.
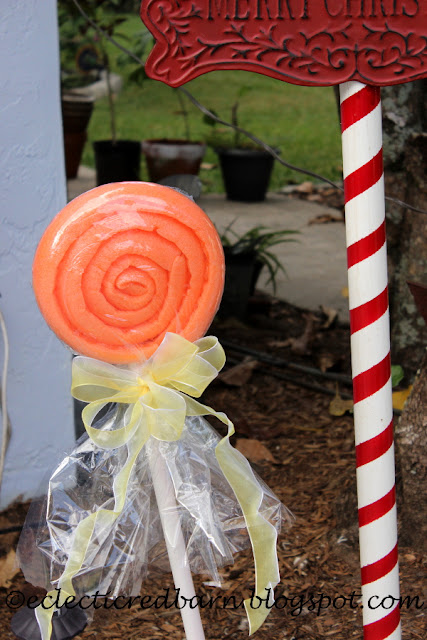
Now that it was tight around the lollipop, I added some ribbon. I used this yellow ribbon that I happen to have on hand.
I did not put white tape on the orange one. I can't decide if I like them with or with out the white tape. You can decide which you prefer.
In order to display them in the ground, I added a piece of rebar in the ground at an angle. Then placed the PVC pipe on the rebar.
So the lollipops are done and now it is time to make the Christmas pole.
I used a larger PVC pipe for the pole 2 inch OD (outer diameter). I just taped off the pole and then sprayed it red.
If you had red tape, you could use that. I didn't but had red paint.
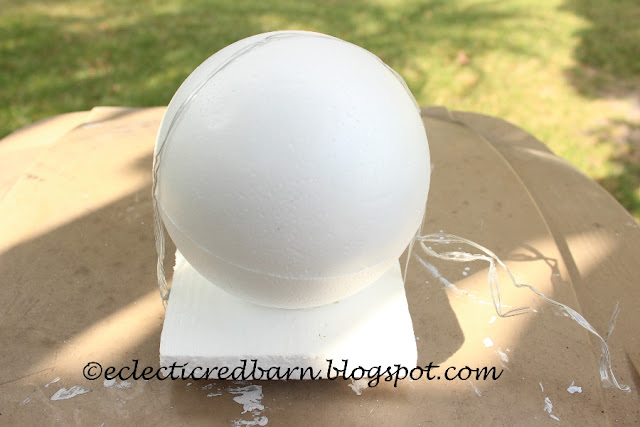
For the top of the pole, I cut a piece of flat Styrofoam and attached it to a 5 inch Styrofoam ball with hot glue.
I used my large twistie ties to secure it while it dried. When I sprayed it with the red spray paint, the flat piece started to disintegrate. The more red paint, the less Styrofoam I had. I broke off the flat piece and just used the round ball.
When it was dry, I pushed it down on the PVC pipe and then cut out some so the ball so it would fit down over the PVC pipe. Added hot glue and stuck it on.
Now for the sign. Not sure where it came from, but I got it at the end of the season last year.
I drilled a hole in the top of the PVC pipe and added a screw. There was a hook on the back of the sign and I used that with some wire to secure it to the PVC pipe.
I inserted a stake into the ground that the pole slid over.
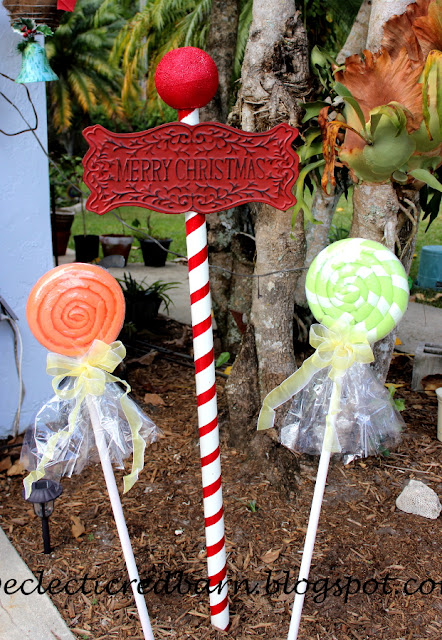
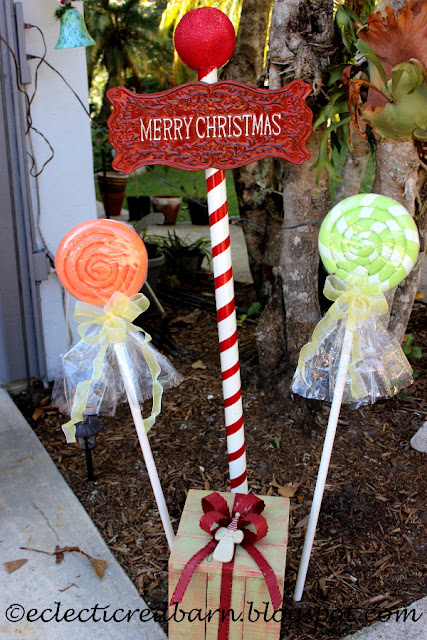
Here it is with my lollipops.
Although I love the sign, the lettering did not show up. I decided to paint the lettering white for it to show up.
Well, there you have it, my complete tutorial on how to make lollipops and a pole for your yard. I bought the bags for over the lollipops ($2 for both) and the Styrofoam ball for $3. I had the rest of the materials.
If you have the materials, you could make them in one day. Hardest part is waiting to things to dry.
I hope you enjoyed my tutorial on the cute lollipops and Christmas pole.
The post Tutorial for making Christmas Lollipops and Christmas Pole first appeared on Eclectic Red Barn.
Linking to these parties:


Labels:
Christmaas decor
,
Christmas decoration
,
lollipops
Subscribe to:
Post Comments
(
Atom
)











Great instructions and for an awesome project! Good job!
ReplyDeleteAs I recall, if you dip your Styrofoam pieces into a glue and water solution, once dried, it primes the Styrofoam for painting. The paint won't eat into the pieces. You can probably use a spray bottle for larger pieces.
ReplyDeleteThe addition of the clear plastic bag is really smart and creative. It makes them look like real lollipops. Nice job!
ReplyDeleteReally cute Christmas decorations. I like the wrapped one best. I will give this a try. Thanks
ReplyDeleteGreat idea!! I’m definitely going to try this!
ReplyDeleteI like what you guys are up too. This kind of clever work and coverage!
ReplyDeleteKeep up the good works guys I've added you guys to blogroll.
Hello! I could have sworn I've been to your blog before but after going through
ReplyDeletemany of the articles I realized it's new to me. Anyways, I'm definitely pleased
I discovered it and I'll be book-marking it and checking back often!
Excellent. By garden lovers it and neighborhood kids too. Thanks for sharing
ReplyDeleteHappy holidays to you.
As a Newbie, I am continuously exploring online
ReplyDeletefor articles that can benefit me. Thank you
I feel that is one of the so much significant information for
ReplyDeleteme. And i am glad studying your article. However want to remark on few
general issues, The web site style is perfect, the articles is truly nice : D.
Just right activity, cheers