Thursday, December 8, 2016
Grandinroad Hack - A Pallet Project
This was a pallet wood project for sure. So let's get started on making these wooden Christmas boxes.
Tutorial:
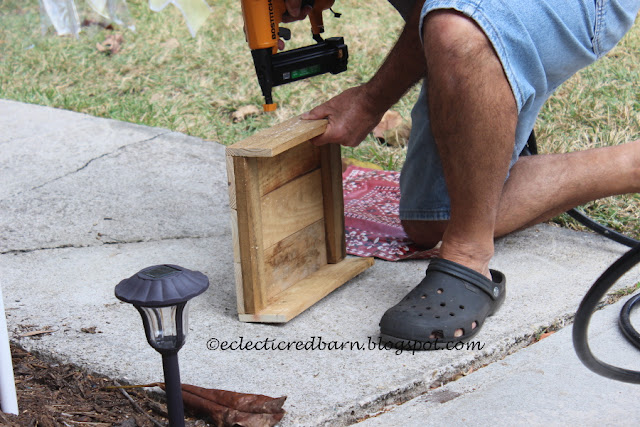
1.We took a pallet and cut just the middle pieces out. That made the pieces around 12 1/2 inches in length.
2. I cut these pallet boards into 12 inch lengths. I found a piece of trim that would be used to secure the sides.
3. We laid three pallet pieces down for the first side.
4. We took a trim piece and added it to the top of the boards.
Then used a nail gun to add the trim to the three boards at one end on the back. If you have no trim pieces to use, a large paint stick will work.
Here is one side finished. A trim piece at both the top and the bottom.
5. Adding the sides could be done in multiple ways. You could finish the second side just like the first. My husband chose to add a single board to each side of the finished panel. Then he realized that maybe there was a better way.
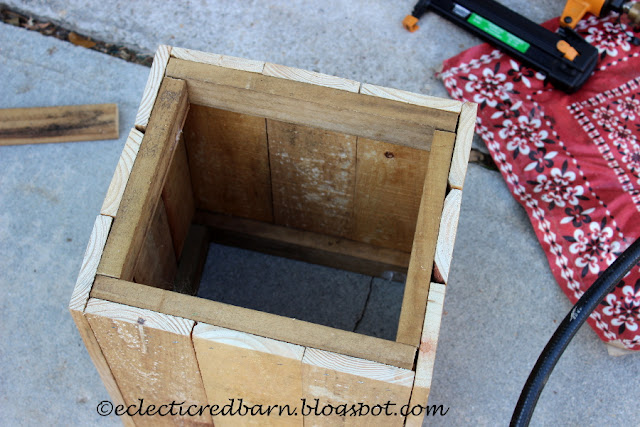
One thing to keep in mind as you put together each panel. Since we made the trim piece the length of the three boards on the first and second panels, you must make the trim piece for the other two panels smaller. You can see in the picture below that two panels have smaller trim .
This will allow you to fit the four pieces together.
6. Now it is time for the top. All the boards were the same size so we just nailed the top ones on. There was a little edge over. Just line them up. Pallet boards come in many sizes.
7. I sanded the whole thing and then it was ready for paint.
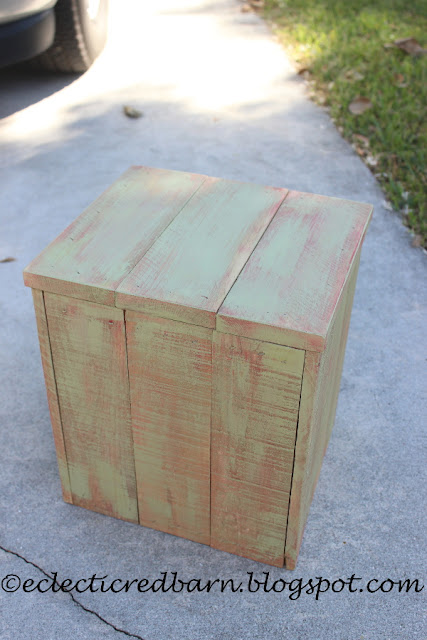
I dry brushed it first with some red paint, which I don't have a picture. Then I dry brushed some green over that.
This picture shows me adding the green paint over the red.
I kept playing with the paint to get my desired look. I just wanted some red to show through. I sanded again in places.
8. I needed to wrap my present. I purchased this metal ribbon a few years ago after Christmas at Home Goods for $5.
I used the silver one for the ribbon and smaller one for the box. The only problem with this ribbon was that there was not much of it. I did see some metal ribbon online at Hobby Lobby but did not go and check it out.
9. I spray painted the metal ribbon on both sides.
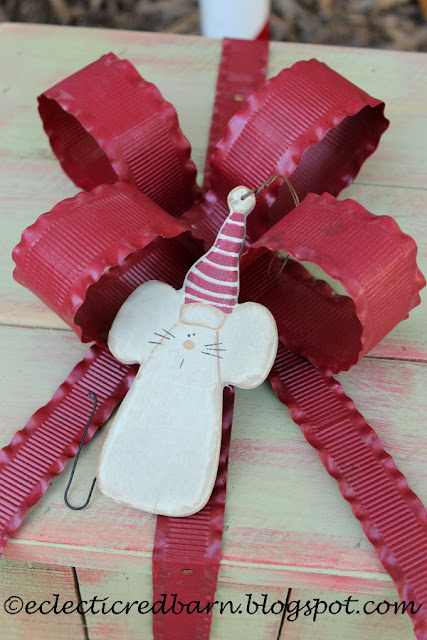
10. Now to add the ribbon to the package. The ribbon is very pliable so you can shape it. I made the bow for the top and nailed the ribbon over the top and down the sides.
I did not have enough of the same size to add ribbon to all sides.
11. I needed a decoration for the box and ribbon. I purchased three wooden mice last year. Not sure where but it was after the holiday was over.
The wooden present cost around $5. The same size at Grandinroad is $89. They also have two other sizes that are $129 and $189. They are on sale now.
12. Finally, I add the present to my outdoor decor.
I will be posting how to make the other pieces in my Christmas decor. You won't believe what they are made from and how cheap.
So here is the orginal Grandinroad box and my version.
So get your pallet boards ready and go make some wooden presents for yourself.
The post Grandinroad Hack - A Pallet Project first appeared on Eclectic Red Barn.
Linking to these parties:


Labels:
Christmas decor
,
pallet project
,
wooden presents
Subscribe to:
Post Comments
(
Atom
)


I LOVE this idea, Beverly! You are so creative! I would like to make some of these for next year. Thank you for sharing!
ReplyDeleteHugs,
Tiffany @ Teediddlydee.com
With the best electric nail gun, you are able to perform a wide variety of task both at home and on a construction site. Knowing which of the many models out there is the best of them all is not the easiest thing to do.
ReplyDelete