Showing posts with label 4th of July decorations. Show all posts
Showing posts with label 4th of July decorations. Show all posts
Tuesday, June 17, 2025
Fourth of July Projects on WWBH
Fourth of July Projects on WWBH
Welcome to the party. I am so happy that you stopped by. This month is over half way over and that means that the 4th of July is approaching. I picked some 4th of July projects for you. Hope you find some inspiration.
Have a wonderful week ahead.
On to the party!
Tuesday, June 20, 2023
Louver Slats for A Flag
Louver Slats for A Flag
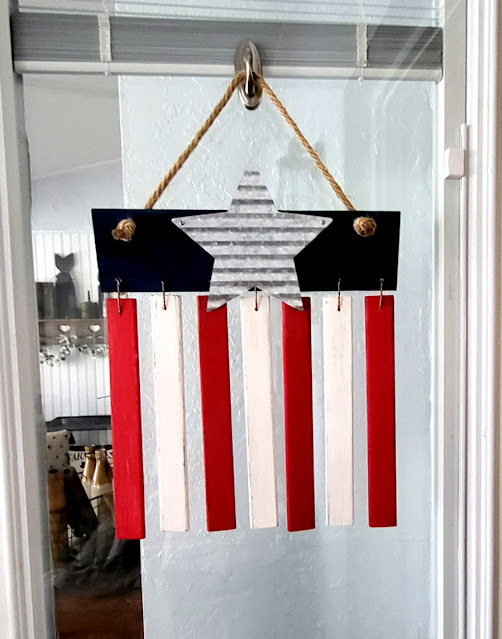
Did you ever wonder what to do with slats from a louver door? Well, here's a project that you might want to try - a 4th of July flag.
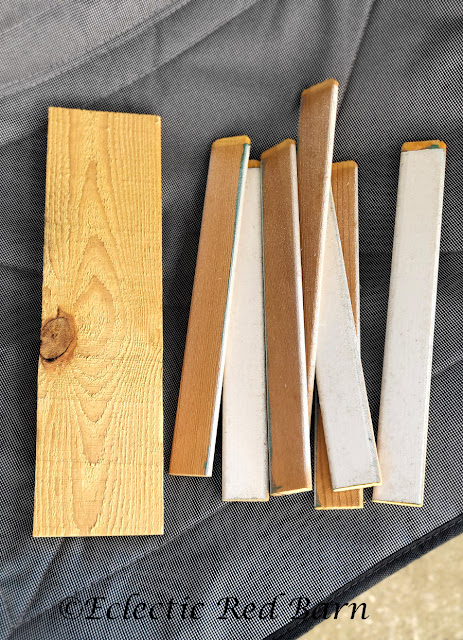
We had an old louver door and wanted to get rid of it. I asked hubby if he could cut off the ends so I could have the slats. so there I was with a box full of them. Now what?
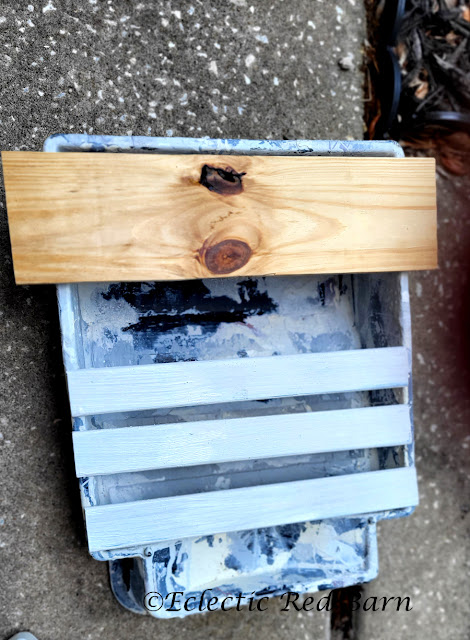
This was not a difficult project, but I did have to wait while the paint dried. I did not cut down the slats. That was they original size. I lightly sanded them and then painted 4 red and 3 white.
The top board was off a pallet board. I sanded this piece too and painted it navy blue.
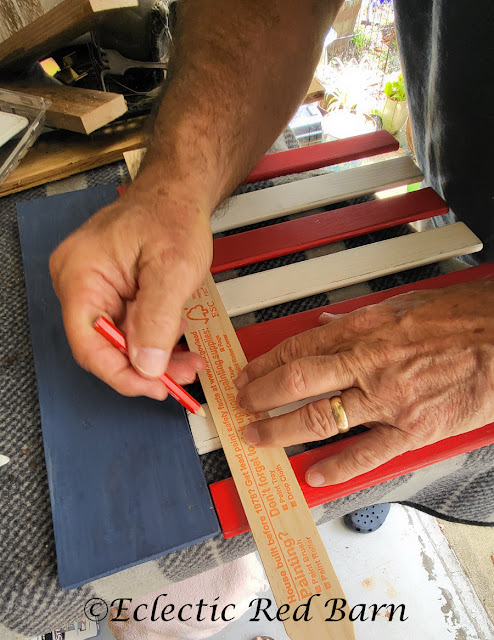
Once all the boars were dried, hubby drilled holes for wire to attach to the top board. He marked them all so they would be the same. He also marked the pallet board.
He makes me this twisted wire. It's his own design. He uses thin copper. You can use any wire you have. The slats are light weight. We went through the front of the slat and the pallet board and into the back.
The star and rope(already had) I got from the Dollar Tree. We drilled holes for the rope and I tied a knot on the front. You could always use a hook if you wanted to.
For the star, I used tiny screws to attach the star to the pallet board. You could always paint a star on there instead.
I have it hanging on my door out to the lanai.
The post Louver Slats for A Flag first appeared on Eclectic Red Barn.
Labels:
4th of July
,
4th of July decorations
,
Bev@Eclecticredbarn
,
flags
,
louver slats
,
pallet board
Saturday, June 25, 2022
4th of July Pallet Blocks
4th of July Blocks
I started to decorate with holiday items for Memorial Weekend. I made some stars and flags for a centerpiece. You can see those here.
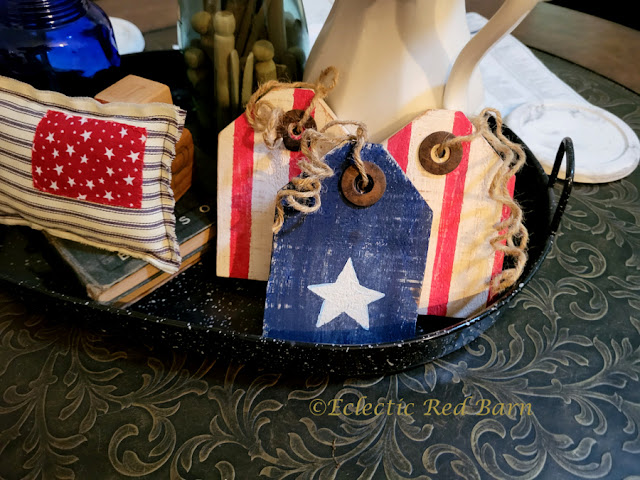
I decided to add to my collection by making some wooden blocks. I made one blue with a star and 2 with red stripes. (they look on the pink side but are really red)
These were easy to make. I used pallet boards to make mine. You can use any scrap of wood since they are not very large.
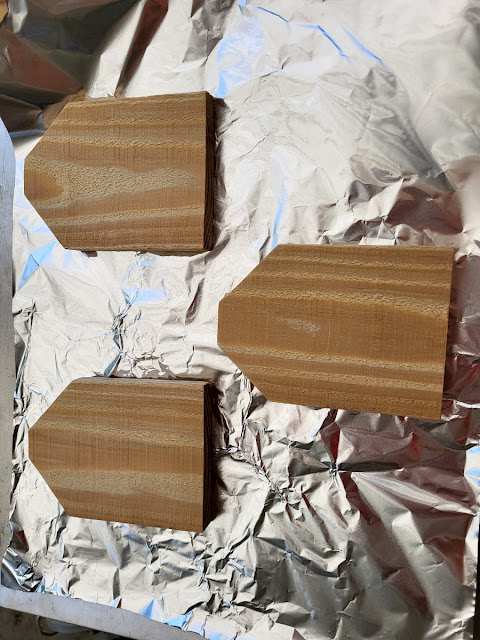
I used one board cut from a pallet to cut all three of my blocks.
How to make 4th of July blocks:
pallet board
paint
painters tape
washers
twine
1. Pallet boards are the right size. You can use any board you have and make them whatever size you want, but mine are 3 1/2 X 5. Cut 3 pieces
2. I cut the corners off of each piece at one end. I cut them at 45 degrees. Sand lightly.
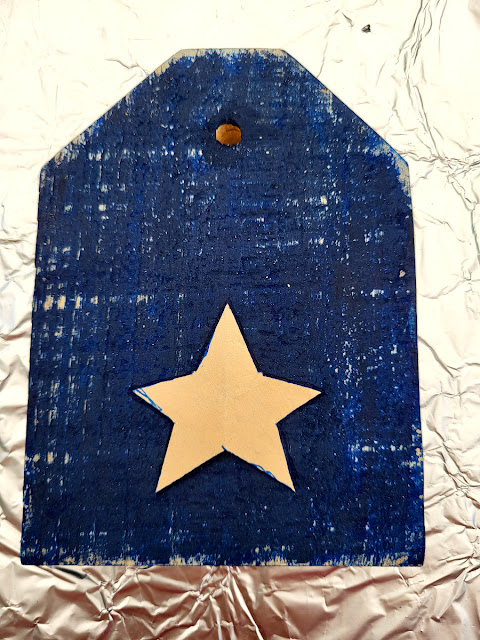
3. I painted one of the blocks blue and then used some sand paper to rough it up. I painted both sides.
4. I cut a star out of card stock paper and then traced it on the blue block. I painted the star white.
5. For the red stripe ones, I painted the blocks white on both side. Once dried, I taped of some stripes and then painted them red. Once they were dried and the tape was removed, I sand the blocks a little.
6. I drilled a hole near the top so I could add twine. I found these rusted washers so I glued them to one side. (I did not put them on both sides)
They were easy to make and make a great addition to my 4th f July decorations.
The post 4th of July Pallet Blocks first appeared on Eclectic Red Barn
Labels:
4th of July
,
4th of July decorations
,
Bev@Eclecticredbarn
,
pallet
,
patrioticdecor
Wednesday, May 25, 2022
Memorial Day Centerpiece
Memorial Day Centerpiece
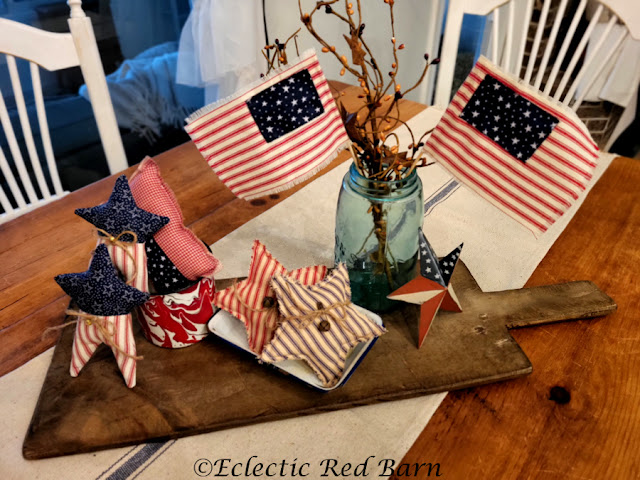
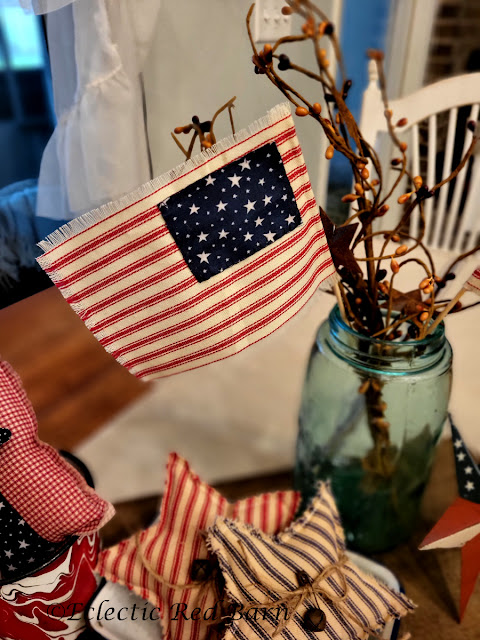
Can you believe that Memorial Day is this weekend? Crazy how time flies. I wanted to make some holiday items so I looked on Pinterest and Etsy. I saw several things that I liked so I began to make some patterns.
After some cutting, re-cutting and starting over, I was able to make all of these items on my Memorial Day table.
I had the wooden tray and I got the runner when I was in Pittsburgh the last time. The mason jar is one of my grandmothers.
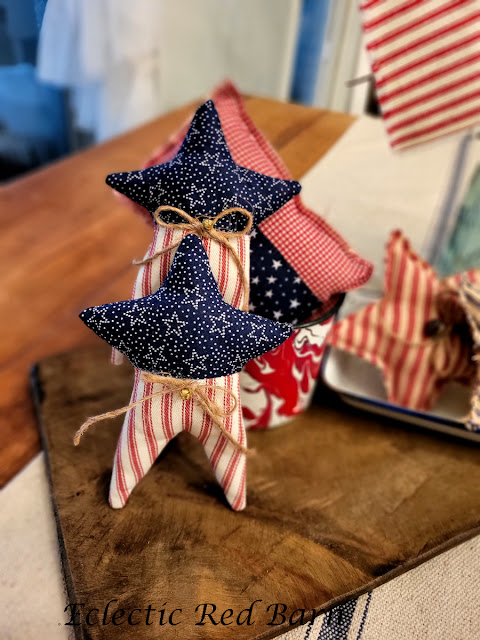
These stars really caught my eye. After many attempts I was able to make a pattern that worked. Stuffing them was a different story. It took a couple of tries to see what worked best, but I persevered. I added a twine bow and small bell to the front.
In the red enamel cup is a flag pillow. I have made several of these and more stars. I think I am getting carried away.
These stars were the easiest once I was able to get the pattern right. I love using ticking fabric when I can. I rusted some bells and safety pins and used them on these ones. I actually found this enamel tray and was almost ready to get rid of it. Thank goodness I didn't.
I had so much fabric to work with and even the stuffing. I did have to buy some star material, but that was inexpensive.
I am so thrilled with all of these. I can keep them up for all of the summer holidays.
The post Memorial Day Centerpiece first appeared on Eclectic Red Barn.
Labels:
#decor
,
#flags
,
#stars
,
4th of July decorations
,
Bev@Eclecticredbarn
,
memorial day decor
Sunday, June 30, 2019
Easy 4th of July Decorated Bottles
Easy 4th of July Decorated Bottles
I wanted to make something "easy" for the 4th. In a previous post, Stardom Craft Liquid Markers, I showed you some wine bottles that I used the markers on. Here I will show you how I created them.
Labels:
4th of July
,
4th of July decorations
,
decorated bottles
,
holiday ideas
Monday, July 2, 2018
Decorated Blue Bottles for the 4th
Labels:
4th of July
,
4th of July decorations
,
holiday ideas
Sunday, July 3, 2016
4th of July Camping Decor
I tried to make items that would travel well and not take up too much space.
We had a palm tree right beside our campsite that was the perfect spot to place my 4th of July decor.
Labels:
4th of July
,
4th of July decorations
,
flags
,
holiday ideas
Sunday, June 28, 2015
4th of July Centerpiece
Labels:
4th of July
,
4th of July decorations
,
wine bottles
Sunday, June 29, 2014
4th of July Jars
Thursday, June 27, 2013
4th of July Garland
Labels:
4th of July banner
,
4th of July decorations
,
banners
,
vintage window
Subscribe to:
Comments
(
Atom
)


.png)
