Monday, February 22, 2016
Tutorial for Making YoYo's
You can make YoYo's any size. It depends on what you want it for. These directions are for small ones that I am using on my Candle Cozies.
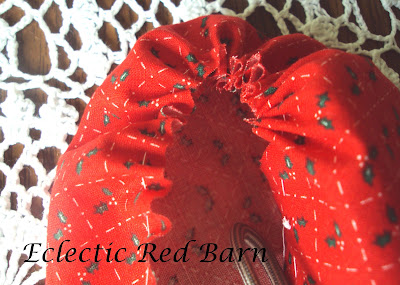
Here is the finished YoYo.
 |
| Finished Yo Yo |
Let's get started:
I made mine about 2 inches or the size of the bottom of the candle holder. You can use cardboard to make a pattern or some heavy card stock. Make sure you use the backside of the fabric to draw your circle.
(In this tutorial I am using a 4 inch circle so it is easier to see. )
Once you have your circle, cut your fabric.
 | ||
| Cut Circle for YoYo |
You will now need a needle
and a long piece of thread that will go all the way around the circle. The color of the thread is not important for this.
Begin on the right side and
move in about 1/4 inch from the edge. Weave the thread around the edge of the
material.
- Shorter stitches create a larger, more open center on your yo yo.
- Longer stitches make for a tighter yo yo center.
 | |
| Stitching Outside of Circle of Yo Yo |
 |
| Stitched Around Yo Yo Circle |
Once you have gone all the
way around, you are ready to begin pulling the thread.
 |
| Pulling Thread on Yo Yo |
Gradually pull the thread
until it resembles the picture below.
 |
| Finished Yo Yo |
The gathered part should be
in the center, you my need to adjust this.
With tutorial, you can make any size YoYos. the only difference will be the size of the circle.
With tutorial, you can make any size YoYos. the only difference will be the size of the circle.
Subscribe to:
Post Comments
(
Atom
)


No comments :
Post a Comment
I would love to hear from you. Your comments are special to me.