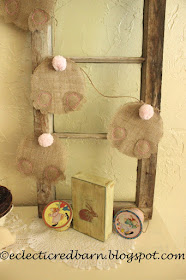
I decided to make bunny "backends". Here's my tutorial for making this bunny garland.
1. Start with some burlap material. As you know, burlap likes to "fray" so you could add some Modge Podge to the ends or watered down glue. I didn't do any of that, but did get some fraying.
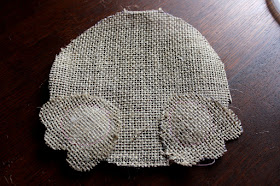
2. I cut out a circle using a plastic lid. Choose any size that you want, but remember that the feet can't be too small since the burlap frays as you get smaller.
When I cut out the circle, I added a little to the top so I could fold it over to hang.
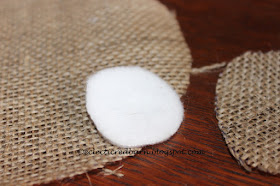
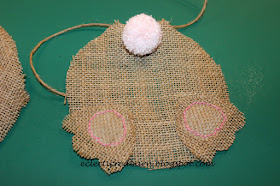
3. Then I cut out some feet. I wanted a little puffiness to the feet so I cut out some white felt to put under the feet.
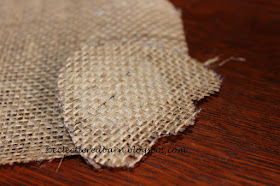
4. Next I placed the feet over the felt and pinned in place so I could stitch them in place.
5. I stitched the feet onto the circle.
6. Next I added the pink pom poms to the top of the circle.
Pom poms are easy to make. I use a serving fork (since it is a little bigger) and wrap the yarn around until I think I have enough. Now you have to wrap some yarn around the yarn on the fork and tie it off.
Then I slide the yarn off the fork and cut the ends. Now begin to trim the ends until you like it.
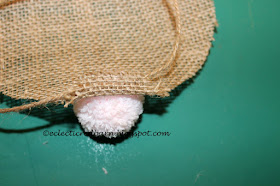
I tied the pom pom to the top of the circle, but you could use hot glue to add it.
7. I added some pink thread around the feet, over the stitched ones. I wanted to see it better. You could use a pink marker or pink paint.
8. To hang the bunnies on the jute, I folded over the flap at the top with hot glue.
Here is the finished bunnies "backend".
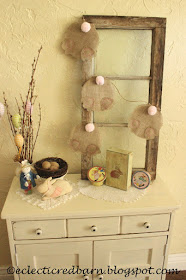
Now I was ready to hang my garland.
I have some other Easter decor to add with my garland.
So there you have my "backend" bunny garland.
The post My Cute Bunny Backend Banner first appeared on Eclectic Red Barn.
Linking to these parties:









Your back end bunnies are adorable. I am pinning this one! Happy co-hosting, Kippi #kippiathome
ReplyDelete